

This Isn’t Just Unboxing. It’s how we begin.
We know plants aren’t just products — they’re alive, unpredictable, and sometimes fragile.
We also know that when things go wrong, it can feel personal.
That’s why this guide exists: to walk through the process with care, step by step.
If something doesn’t look right, don’t rush to react.
Finish the process first — and if you need us, we’re right here.
Use this section to describe a product or welcome your customers.
From here on, each plant will be handled completely on its own.
Starting now, we’ll work through the entire process — from unwrapping to potting — one plant at a time.
This separation is intentional and important. It allows us to:
- Build a clear, individual record for each plant
- Identify and isolate any issues without confusion
- Communicate more effectively if you need support later
If something goes wrong, please stay calm and finish the full set of steps for that plant — even if there’s a problem at the beginning, the situation often becomes clearer or resolves by the end.
Plants are special, and we care deeply.
As collectors ourselves, the last thing we want is an unhappy experience for anyone.
So work through each plant, step by step — and if needed, we’ll be here to help you with full context.
DO you have Hoya or Platycerium?
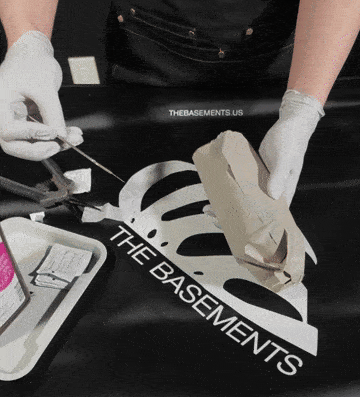
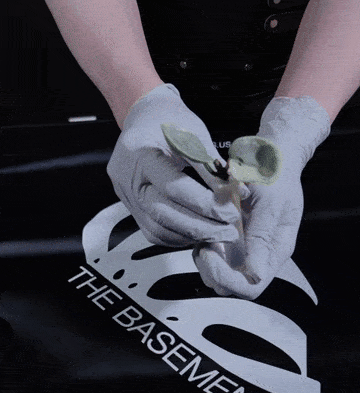
Unwrapping 1/3
Use scissors or a cutter — never pull by hand.
Carefully cut through the tape sealing the outer wrap using scissors or a blade.
Do not try to tear the tape by hand — we’ve seen many cases where customers pulled too hard, accidentally damaging the plant inside due to packaging shift or snap-back.
Take it slow — patience protects your plant.
Unwrapping 2/3
Use scissors to gently cut through every taped seam and connection point on the plant’s outer wrapping. Take extra care near delicate stems and nodes.
As you go, remove all leaf protection materials — unwrap fully and allow the leaves to open and breathe.
Avoid tearing or pulling — we want to make sure the plant is freed without any accidental damage.
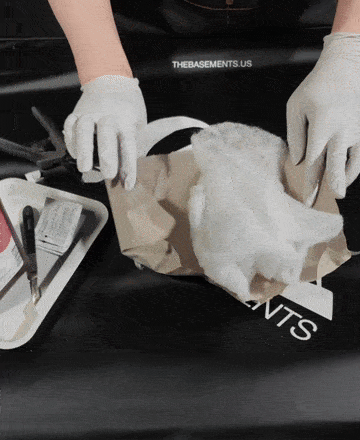
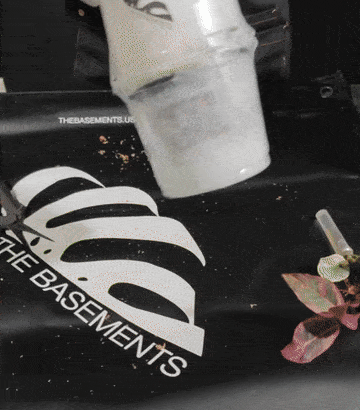
Unwrapping 3/3
Carefully cut open the root wrap — eyes on the scissors.
This step is for the roots. Use scissors (not hands Please!!!) to slowly cut along the outermost layer of the root wrapping.
Keep your eyes focused on the scissors’ path — root bundles can be tight, and any miscut may damage healthy roots.
Once the tape and wrap are fully cut, gently remove the outer packaging. Then, lightly shake the root ball to let the packing moss fall away on its own.
Do not forcefully pull or dig into the moss — let it loosen naturally.
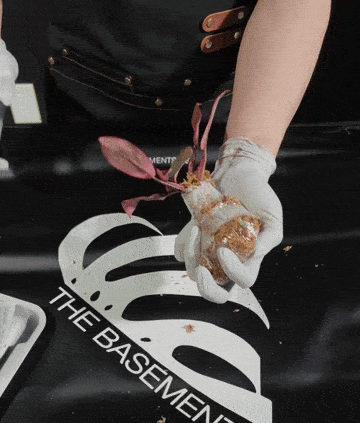
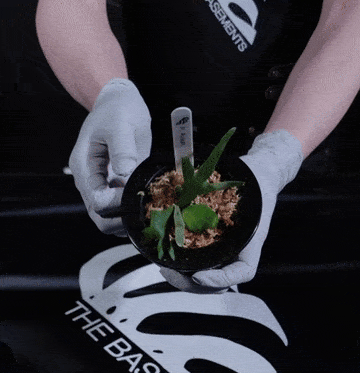
Good Looking So Far?
Use this section to describe a product or welcome your customers.
🌱 Special Packaging: Hoya 1/2
Most Hoya are shipped without roots — and that’s okay.
Hoya can travel safely even without roots, so in some cases we ship them directly in tubs before repotting. This is completely normal and won’t affect plant health.
To unwrap, use scissors to cut the tape connecting the cup lid and base. Then, gently remove the top-layer support material.
⚠️ Please do not pull with force — we’ve had cases where leaves broke due to rough handling during this step.
🌱 Special Packaging: Hoya 2/2
Top off the water and let your Hoya stand.
After unwrapping, check the water level in the tube. If it’s low, simply refill it to the top — this keeps the Hoya hydrated while it adjusts.
Then, find a base or stand to help the cup stand upright and stable. Once positioned, the setup is complete — no further action needed for now.
🌱 Our recommendation:
Let your Hoya grow a full, healthy root system in the tube first. Once the roots are well-developed and fill the tube, you can safely transfer it into your preferred substrate.
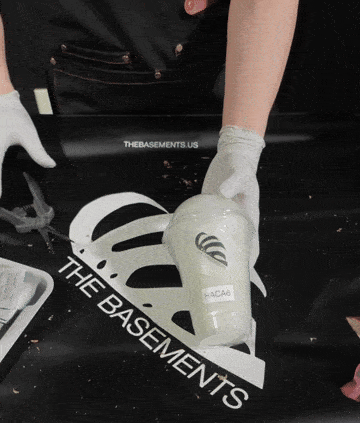
How Does It Look Now?
Use this section to describe a product or welcome your customers.
🪴 Special Packaging: Platycerium 1/2
Identify the top and cut carefully.
Our Platycerium are packed using a “sandwich-style” layering to provide full protection during transit.
Use the logo orientation to determine which side is the top. Then, cut the connecting tape with scissors — never tear by hand.
Carefully remove all top-layer protection materials, taking special care around the shield fronds.
Once the top is fully opened, gently lift the plant from the bottom protection layer to begin the next step.
⚠️ Platycerium fronds are fragile — many customers have accidentally damaged them during unwrapping, so please proceed slowly and gently.
🪴 Special Packaging: Platycerium 2/2
Check moisture — don’t rush to water.
After unpacking, use your fingertip to gently press the surface of the moss substrate.
If it still feels slightly moist — not bone dry — do not water yet.
You can also visually assess: as long as the moss isn’t clearly dry, it’s better to wait.
Let the plant rest and adapt to its new environment for 3–5 days before any watering.
When ready, use the soaking method to fully saturate the moss, ensuring deep hydration without disturbing the root zone.
How Does It Look Now?